There are many great reasons why you might want to build your own DIY recording booth. Maybe you’re on a budget and need a cheap solution to all the acoustics problems in your home. Or maybe you’ve never had a chance to experiment with acoustics and don’t know where to start.
No matter what the reason may be, I have some tips for how to build your own, quality DIY recording booth that won’t break the bank!
There are a lot of different reasons why you might want to build a recording studio, but one of the most popular is because the room in your house is just so blah. It’s boring, it’s not inviting, and everything sounds flat. Or maybe you live in an apartment building where all of the units are close together with very little sound isolation between them. Whatever your situation, our goal here is to talk about how to build your first DIY recording booth on a budget.
If you’re new to this type of thing, it can seem rather daunting. A good microphone sounds like it must cost a fortune, and a pop filter seems like something that only high-end studios have. And the acoustics… What even are acoustics? Well, I don’t want to scare you away, but they can be terribly confusing if you don’t have an understanding of them already.
In this article, I’ll be tackling acoustics as well. You won’t need to spend thousands of dollars on acoustical foam, special baffles, or acoustic panels. I’ve found that when you just need one or two small pieces in a general room for a DIY recording booth that it’s more cost-effective to buy them at your local hardware store.
Things like foam, batting, and soundproofing made for walls are often sold as kits at places like Soundproofing Warehouse, Arrowzoom Acoustics, or other similar stores. These solutions are okay for someone with experience who knows how to properly place the materials in the room…
Why You Need a Recording Booth?
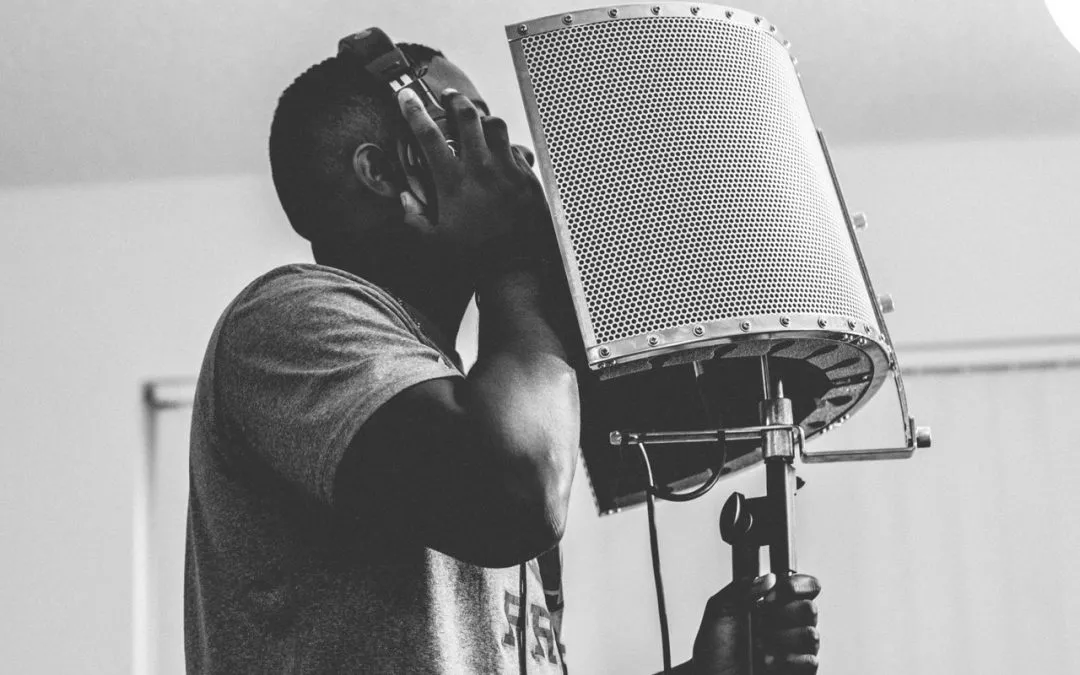
Recording booths are almost essential if you want top-tier, professional recording. When you’re starting out, it won’t be quite as important to have one. In fact, you may have no idea what a recording booth even is, and don’t even know if you need one. This wouldn’t be uncommon!
In short, you should think about a recording booth if you’re planning on recording audio in a location other than your studio. You might record audio of your child talking to Santa or maybe you have a podcast that you want to start doing.
If you’re going to be doing these sorts of things then recording booths are crucial for producing high-quality audio and maintaining a consistent sound with each recording.
Acoustic treatment can also be essential if you are recording an instrument or voice and want your room to sound as natural as possible. This often requires large amounts of acoustic panels or thick acoustic foam. If you’re just looking to create a small and simple DIY recording booth, it may be cheaper to buy these products instead of making them yourself.
Things to Consider When Building a DIY Recording Booth
Before we get into the nuts and bolts of how to build your recording booth, I want you to keep in mind a few things that will make the recording process easier and more natural sounding.
First, I would recommend choosing a large open room in your house. Many people assume that it’s better to use small rooms with hard walls when they’re doing acoustic work but this is far from true from my personal experience.
Why is Acoustic Treatment Important?
The fundamental reason why you might want to have acoustic treatment is that it will allow you to record without having excessive bass present in your recordings. If you don’t have acoustic treatment, you may end up with excessive bass or frequencies that sound very boomy when being recorded.
It might seem like a silly thing to spend the time constructing a DIY recording booth so there won’t be too much bass present for your recording, but trust me, it will make a world of difference!
Now, let’s move on to how to build your DIY recording booth. Here are 7 common DIY Recording Booths.
7 Common DIY Recording Booths
There are different types of DIY recording booths that you can set up. Today, I want to showcase the five most common DIY recording booths that people use and have success with.
You can choose whichever of these you like best! If you’re just getting started with recording in your house, then you may want to start with a smaller one and see how it goes. Then you can always update it down the road if you see a need for more space or better acoustics.
1. The Closet Recording Booth
This type of recording booth is great for small rooms and is often used when an extra bedroom is the only space available for a studio. When you record in the closet, there are some advantages that come along with it.
First, you can simply walk in and out of the closet, which is convenient. Second, if you’re looking to record an instrument or voice and want the room to sound as natural as possible, this may be a great option for you. You can use thick acoustic foam to separate your recording area from the rest of the room.
If you’d rather have a small-to-medium-sized recording booth, then this may be a good choice for you.
2. The Mattress Fort Recording Booth
This is one of our favorite types of booths to make because it’s so easy and so cheap. I’ve made two of them in the past, and both times were great experiences. The first time, I made a small recording booth for about $50 in parts.
When you record in a mattress fort, you can set up a microphone and/or instruments anywhere in the room.
You can also place acoustic foam or soundproofing on the walls to make it more sound-isolating. The space is basically like a small studio, so you don’t have to worry about getting too annoyed with neighbors.
This type of recording booth is especially great for recording child or baby sounds, music, or dialogs. You can record anything you want with ease in a small closet!
3. Reflection Filter
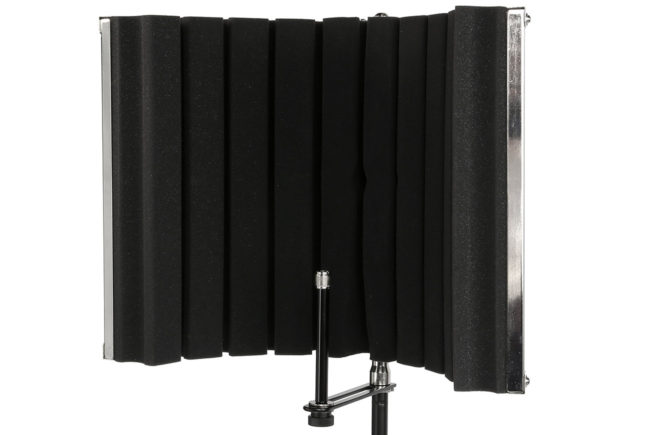
Reflection Filter
Reflection filters can be used to capture room ambiance and make the sound of your recordings seem more natural. With this DIY recording booth, you can place them on the walls behind the microphone and see a noticeable difference.
If you have kids, pets, or other noises in your home that you don’t want to be heard when you’re recording then it’s a good idea to place one or two of these behind your mic.
When you record with a reflection filter, you will also want to place some acoustic foam or soundproofing on the walls to help keep the sounds of your home from interfering with your recording.
4. The Canvas Tarp Recording Booth
A canvas tarp is the most important part of this recording booth as it reduces all reflection that comes through the windows. This type of DIY recording booth also gives you a large area to record in.
A canvas tarp is pretty easy to work with as you can simply lay it over the floor and ceiling. When you lay it over the ceiling, it will create a curved surface which allows the air to move easier and reflect less sound back into your microphone.
You can also use acoustic foam or soundproofing in this type of recording booth to help reduce unwanted reflections from outside sources.
5. The Booth Under The Blanket
Using a booth under the blanket is similar to the canvas tarp recording booth. You can simply lay a sheet over the floor and ceiling of the room to help reduce reflections.
If you’d rather have a small-to-medium-sized recording booth, then this may be a good choice for you.
There are different types of DIY recording booths that you can set up.
You can choose whichever of these you like best! If you’re just getting started with recording in your house, then you may want to start with a smaller one and see how it goes.
6. The Bathroom Recording Booth
Recording in the bathroom is a great solution if you’re looking to record in a small room. When you record in the bathroom, you will have to turn off all the lights and draw the shades closed.
If someone else is using the bathroom while you’re recording, it’s best to start your recording before they use the bathroom. If they turn on the lights or fluorescent lighting, it can cause unwanted reflections that will ruin your recording.
When recording in the bathroom, it’s also important to make sure that the soundproofing that you’re using is thick enough to not allow for any unwanted reflections.
7. The Roll-Up Door Recording Booth
This type of recording booth can be set up in a variety of different ways. Here are some possible setups:
Roll-Up Door Recording Booth – This type of recording booth is based on your computer desk, which opens up into a large room.
How Much Does a DIY Recording Booth Cost?
I have created a list of the equipment you can use to make your own recording booth. This is by no means an exhaustive list but it should give you a good idea of what you’ll need to start recording.
To build this type of DIY recording booth, you’ll need:
A closet at least five feet wide and eight feet long. One or two acoustic panels that are 4’x8′. You can get these from any music supply store. If you want to change the acoustics of the room, some acoustic foam will be needed as well, but that will depend on how much space there is in your closet and how much soundproofing you want inside it.
If you have additional questions about the DIY Recording Booth, please check out my next article.
Mixing your recordings with other tools and software can be a very daunting task for many new producers. You can take it one step further and use the following software to mix, master, and fix up your productions.
Conclusion
When it comes to a DIY Recording booth you have to remember that it’s about the quality of your recording and not the amount of space you have in your house.
You can record yourself in a closet with just a couple of mics and make stunning mixes that people can’t ignore. But if you want to take things to the next level, you need to get a larger recording booth or invest in software to help you mix and master your songs.
All in all, no matter what you do, you can have a high-quality recording studio in your home for surprisingly low prices.
I hope this article helped give you an idea of what’s involved with building a DIY Recording Booth.